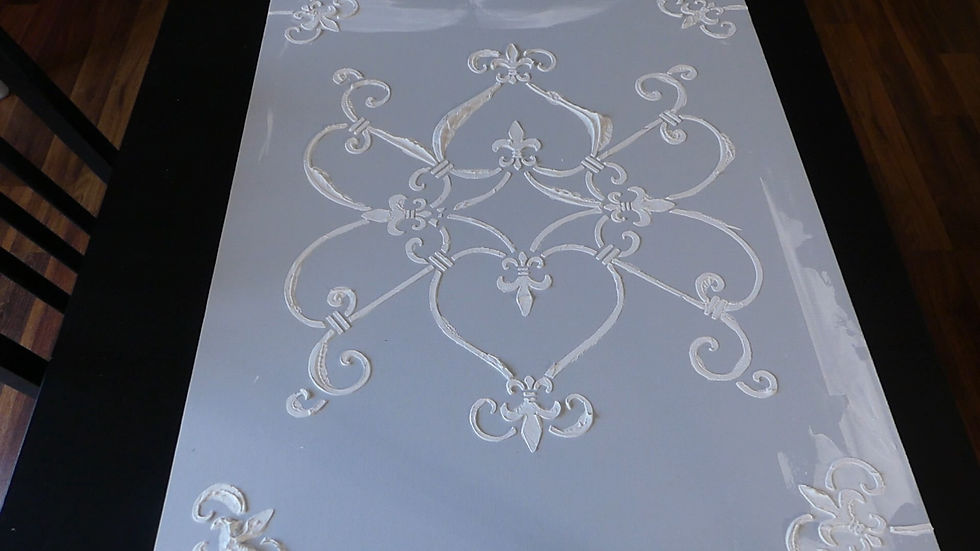
Stencils are cool and all but raised stencils with joint compound are easy and give a unique textured look to your finished project.

You’ll need (all affiliate link proceeds are donated to no-kill animal shelters and rescue organizations):
* A canvas or other surface
* Stencil
* Joint compound
* Measuring tape
* A scraper
* Painters tape (or masking tape)

* Painting supplies – I’m going to give a rusted, patina finish to my stencil so I’m using different paints, a grazing medium, a sponge, and a brush.
First, find the middle of your surface with the measuring tape. Mark it for easy reference.

Place the stencil so that the middle lines up with the mark and tape down on all sides.

Use the scraper to apply joint compound to the entire surface of the stencil. You’ll want to glide over the surface like you’re icing a cake.

Remove the tape from the stencil.

Carefully pull the stencil up and off of the surface, making sure that it doesn’t move around as you’re removing it.

Rinse the stencil and scraper immediately so the joint compound doesn’t harden.

Continue stenciling as needed to complete your desired look.

If the stencil needs to overlap any spot you already added joint compound to, allow it to dry for 24 hours before continuing.

Once the most recently applied joint compound has dried for a day, paint away!


Comments